-
Feature
-
Interface
-
File Operation
-
Design Central
-
Basic Setting
-
Viewing Tools
-
Object Operation
-
Drawing
-
Parametric
-
Graph Editing
-
Graph Transform
- Move
- rotate
- Transform Again
- Mirror
- Arc and Line Fit
- Envelop Distortion
- Perspective Distortion
- Push and Pull Distortion
- Twist Distortion
- Shadow Distortion
- Curve Zmap
- Interactive Nesting
- Auto Nesting
- Clone Along a Curve
- Rectangular Clone&Polar Clone
- Clone along a Line
- Clone along an Arc
- Clone along a Spiral
- Scale 2 Points
- Orient 2 lines
- 3D Move
- 3D Rotate
- 3D Scale
- 3D To XY Plane
-
Image Processing
-
Text Editing
-
Node Editing
-
Graph Toolpath
- Tool Path
- Profile Machining
- Area Clearance
- Flute Machining
- 3D Corner Engraving
- Midine Machining
- Drilling
- Insert And Inlay
- Intelligent Machining
- Prism Machining
- Embossing Machining
- Toolpath output
- Tool Management
- Toolpath Walk Simulation
- Toolpath Shaded Simulation
- Post Set
- Toolpath Regenerate
- Toolpath Stat
- Adaptive Area Clearance
- Chamfer Machining
-
Image Toolpath
-
Wireframe Toolpath
-
Toolpath Edit
-
Waveboard
-
Relief
-
Surface
-
Surface Toolpath
Flute Machining


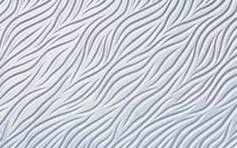
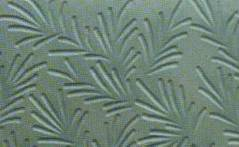
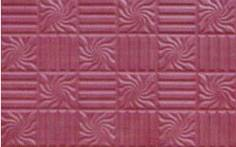
Middle wider Start wilder

End wilder
Command:
Menu【Toolpath > Flute Machining】

Steps:
1. Draw some anomalistic curves and lines.
2. Select all the lines and curves.
3. Menu【Toolpath > Flute Machining】
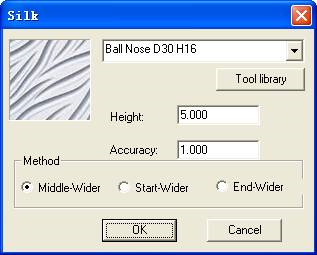
4. Set the parameters, click OK button.
Parameters:
1)Height: the max machining depth.
2)Accuracy: the accuracy of the texture. The accuracy is better when the setting is lower, and the time needed for calculating is longer.
3)Middle wider: the texture start to become narrow on the two ends, the middle part is the widest.
4)Start wilder: the texture is wildest at the beginning, and then goes lower.
5)End wilder: the texture is wildest at the end, just the opposite of Start wilder.
