3D Corner Engraving
To make the material surface smooth and to ensure the definition, precision and third dimension effect of the machined object. It is mainly used in seal engraving and engraving of characters with special effects.
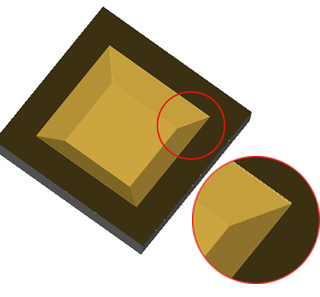
Command:
Menu【Toolpath > 3D Corner Engraving】 Toolpath Bar
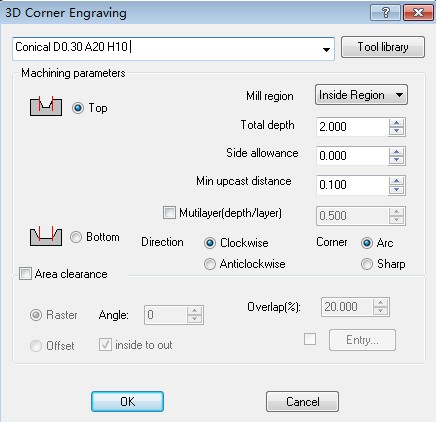
Steps:
1. Select the objects.
2. Click Menu【Toolpath > 3D Corner Engraving】.
3. Set the parameters, Click OK button.
Parameters:
1)Top and bottom engraving: the difference between them is the size of the machining area.
Top : the objects is same as the top of part.
Bottom : the objects is same as the bottom of part.
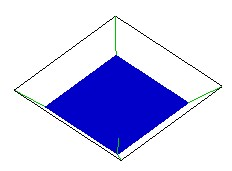
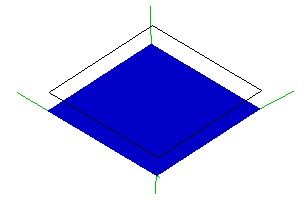
top bottom
2)Mill Region: Inside Region and Outside Region option.
3)Total depth: the machining depth.
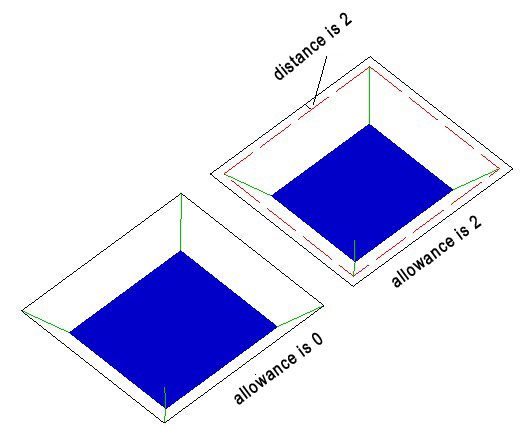
4)Side allowance: the area outside the Toolpath. Precision cutting can be achieved through setting side allowance
5)Min upcast distance: to reduce the number of upcast.
6)Direction: is the direction of the toolpath,including clockwise and anti-clockwise. When choosing cutting direction, the material should be taken into consideration so that the surface of the material after being machined is smooth. Clockwise machining is fit for cutting materials of high density, such as Acryl (organic glass), brass, etc; anti-clockwise machining is fit for cutting materials of low density such as PVC board, two-color board, etc.
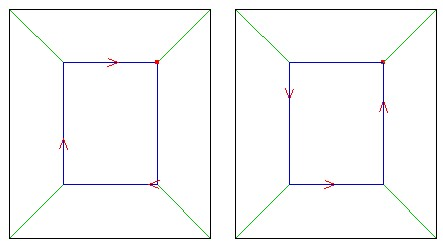
clockwise anti-clockwise
7) Corner: Arc and Sharp Option. the transition of the side of part , Arc make the part smooth. Sharp make th partangular.
6)Area clearance:To solve island issues.
Overlap ratio: the ratio of the width of the tool bottom blade to the width of the last Toolpath.
Entry: With ramp function, the cutter breaks can be well prevented because the tool goes into the material in a certain angle.
Ramp Helix
raster:you can adjust the angle.
offset:you can choose inside to out
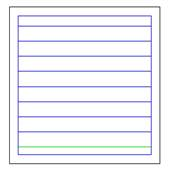
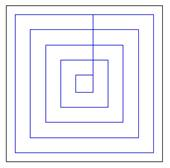
raster offset
