Tip: Start typing in the input box for immediate search results.
-
Feature
-
Interface
-
File Operation
-
Design Central
-
Basic Setting
-
Viewing Tools
-
Object Operation
-
Drawing
-
Parametric
-
Graph Editing
-
Graph Transform
- Move
- rotate
- Transform Again
- Mirror
- Arc and Line Fit
- Envelop Distortion
- Perspective Distortion
- Push and Pull Distortion
- Twist Distortion
- Shadow Distortion
- Curve Zmap
- Auto Nesting
- Interactive Nesting
- Clone Along a Curve
- Rectangular Clone&Polar Clone
- Clone along a Line
- Clone along an Arc
- Clone along a Spiral
- Scale 2 Points
- Orient 2 lines
- 3D Move
- 3D Rotate
- 3D Scale
- 3D To XY Plane
-
Image Processing
-
Text Editing
-
Node Editing
-
Graph Toolpath
- Tool Path
- Profile Machining
- Area Clearance
- Flute Machining
- 3D Corner Engraving
- Midine Machining
- Drilling
- Insert And Inlay
- Intelligent Machining
- Prism Machining
- Embossing Machining
- Toolpath output
- Tool Management
- Toolpath Walk Simulation
- Toolpath Shaded Simulation
- Post Set
- Toolpath Regenerate
- Toolpath Stat
- Chamfer Machining
- Adaptive Area Clearance
-
Image Toolpath
-
Wireframe Toolpath
-
Toolpath Edit
-
Waveboard
-
Mesh
-
Relief Sculpt
-
Surface
- Surface
- Import Surface File
- Standard Surface
- Freeform Surface
- Chamfer Surface
- Fillet Surface
- Extend Surface
- Show Effect
- To 3D Curve
- Curve Project to Surface
- Pullback
- Extract Edge
- Split at Isocurve
- Trim at Curve
- Trim at Surface
- Untrim
- To Mesh
- Edit Node of Surface
- Insert Control Point
- Vari Fillet Surfaces
- 3D-Spline
- Surface Flatten
- Mesh Wrap
-
Canvas 3D
-
Surface Toolpath
Combine Mode
There are five options for this: Add,Subtract,Merge High and Merge Low, Replace.
These determine how the subsequent relief is combined with the previous one, for instance whether it sits on top of the original shape or blends into it.
When create relief or surface in ucancam, the default combine mode is Add.
Command:
Menu【Relief > Combine Mode】
The five options and their specific effects are described on the following
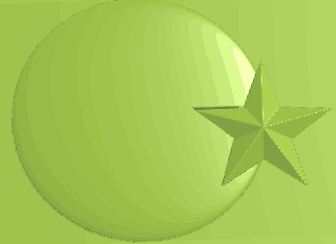
there are 2 reliefs: star and flat ball
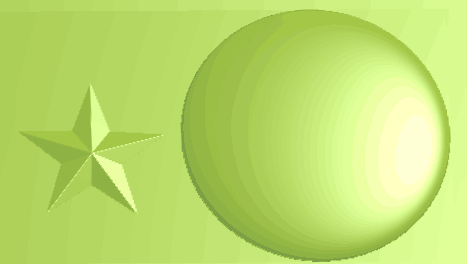
Add: to create a raised relief
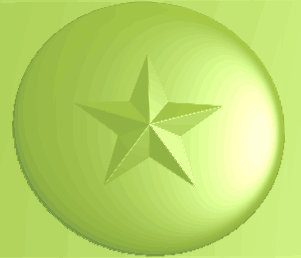
Subtract: to create new recessed reliefs

Merge High: keep the highest
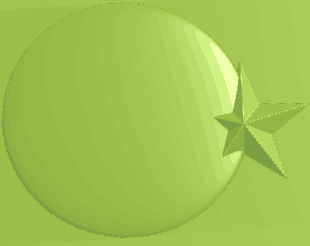
Merge Low: keep the lowest
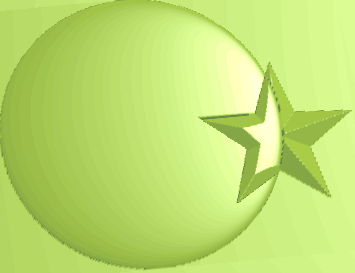
Replace: new relief replace the previous
